What’s New in PolyWorks|Inspector™ 2025
3D Dimensional Analysis & Quality Control
What’s New in PolyWorks|Inspector™ 2025
3D Dimensional Analysis & Quality Control
Enjoy auto-alignment as you start scanning
Quickly pre-align your laser scanner with respect to a CAD model without probing features or matching corresponding points. Simply indicate the scanner’s initial position and orientation in the 3D Scene window, then start scanning a piece as you indicated. After a few seconds, PolyWorks|Inspector automatically aligns the first scanned points to the CAD model, allowing you to enjoy feature scanning guidance immediately and increase the repeatability of multipiece measurement workflows.
Determine corrective actions
quickly using the derived
dimensions of GD&T calculations
Analyze GD&T-related deviation values and their locations to diagnose and fix manufacturing issues or monitor statistical trends. GD&T Position and Profile supplemental information instantly reports values describing the actual measured deviations, expressed in the datum reference frame alignment, without having to create additional features or align the data. These include:
- The centerpoint coordinates of measured holes
- The top, bottom, and maximum deviation coordinates of axial features
- The most in-material and out-of-material deviations and coordinates of surface profiles
Simplify part selection by leveraging the CAD
assembly tree
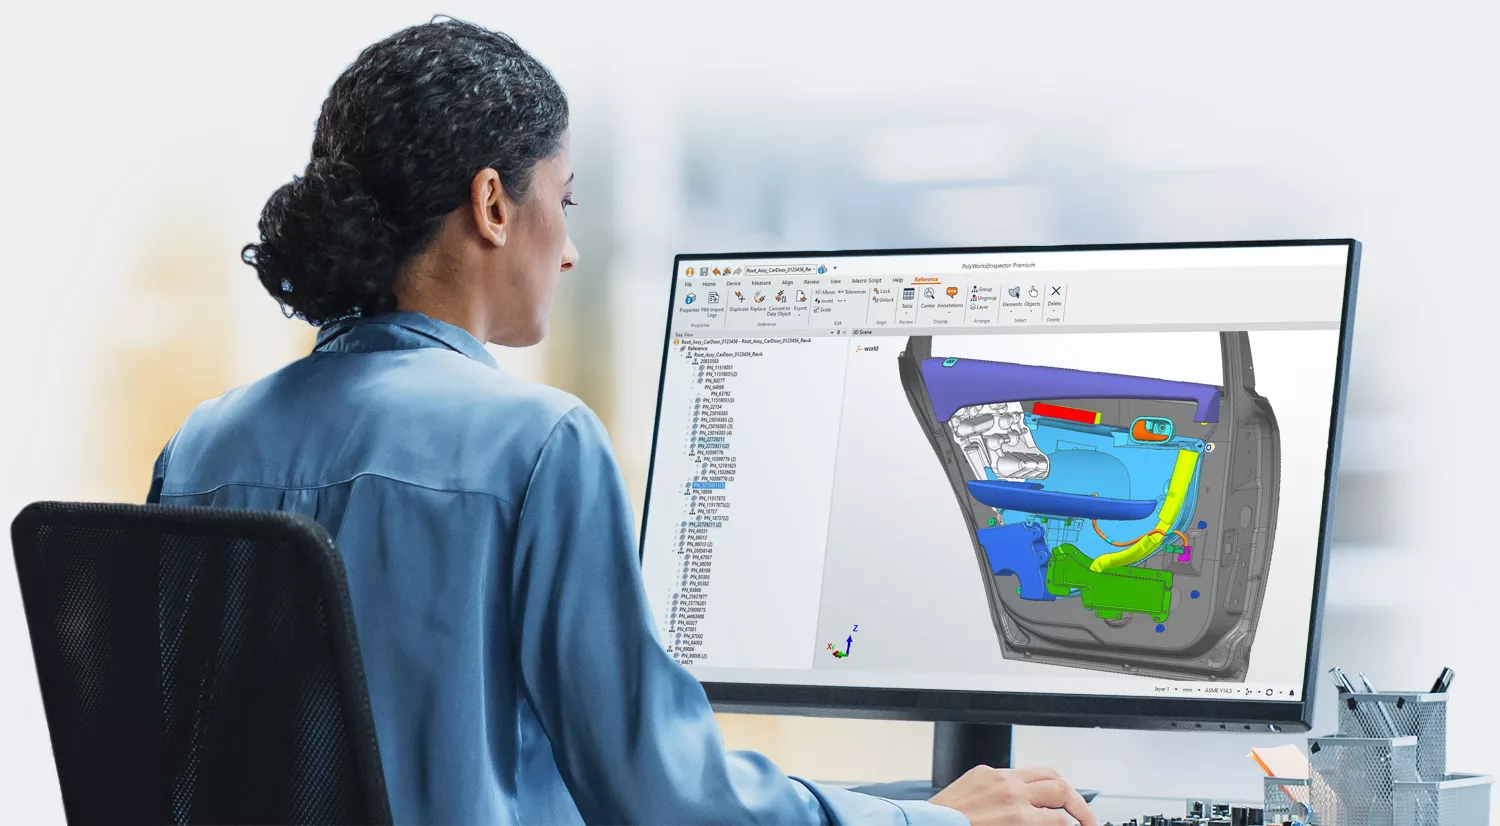
Import CAD assemblies more rapidly and display their assembly tree to easily select a subassembly
or multiple instances of the same part.

Inspect large parts automatically by combining single-point measurement and surface-scanning tools
PolyWorks|Inspector offers new hybrid plug-ins for the Leica Absolute Tracker ATS800 and API Dynamic 9D LADAR measurement devices that allow measuring specific points or scanning areas. You can use these devices either as non-contact probing tools or in scanning mode to view a digital readout, measure features using predefined measurement points, perform a Build/Inspect workflow, probe surface point alignments, or scan freeform and prismatic surfaces. Moreover, you can leverage the hybrid plug-ins within the Sequence Editor to automate multipiece inspection.
Handle more complex CAD surfaces with our assisted CMM sequencing technology
Our renowned assisted sequencing technology that streamlines the creation of measurement sequences for CNC CMMs is even smarter than before:
- Supports trimmed cylinders, cones, and spheres
- Automatically reduces an exaggerated exclusion distance to ensure feature measurability
- Better handles narrow cones
Perform tactile scanning on ZEISS CMMs
Use our tactile scanning measurement methods with CMM-OS.
Enrich your CMM-based laser scanning toolbox
Extend the life of your CNC CMM by retrofitting a laser scanner to it. With PolyWorks|Inspector 2025:
- Leverage the latest Kreon and LK scanner models, Kreon scanners on Renishaw and LK controllers, Nikon scanners on Renishaw controllers, and ZEISS LineScan scanners (through I++)
- Save time and prevent mistakes when using a CAD model to define or select a scanner orientation by previewing the laser plane and adjusting its orientation (when possible)
- Reduce the number of scan paths and speed up sequence creation by reusing a scan path with a different start point

Access MyPolyWorks online hub
As a client, you can download software releases, master new skills, and connect with the user community.